Webdav配置
Github项目:阿里云盘linux
本文命令可以让阿里云盘变身为webdav协议的文件服务器。这样你可以把阿里云盘挂载为Windows、Linux、Mac系统的磁盘,可以通过NAS系统做文件管理或文件同步等等。 当把阿里云盘作为webdav文件服务器进行使用的时候,上传文件是不支持秒传的,所以当你挂载为网络磁盘使用的时候,不建议在webdav挂载目录中上传、下载过大的文件,不然体验会非常差。 建议作为文档,图片等小文件的同步网盘。
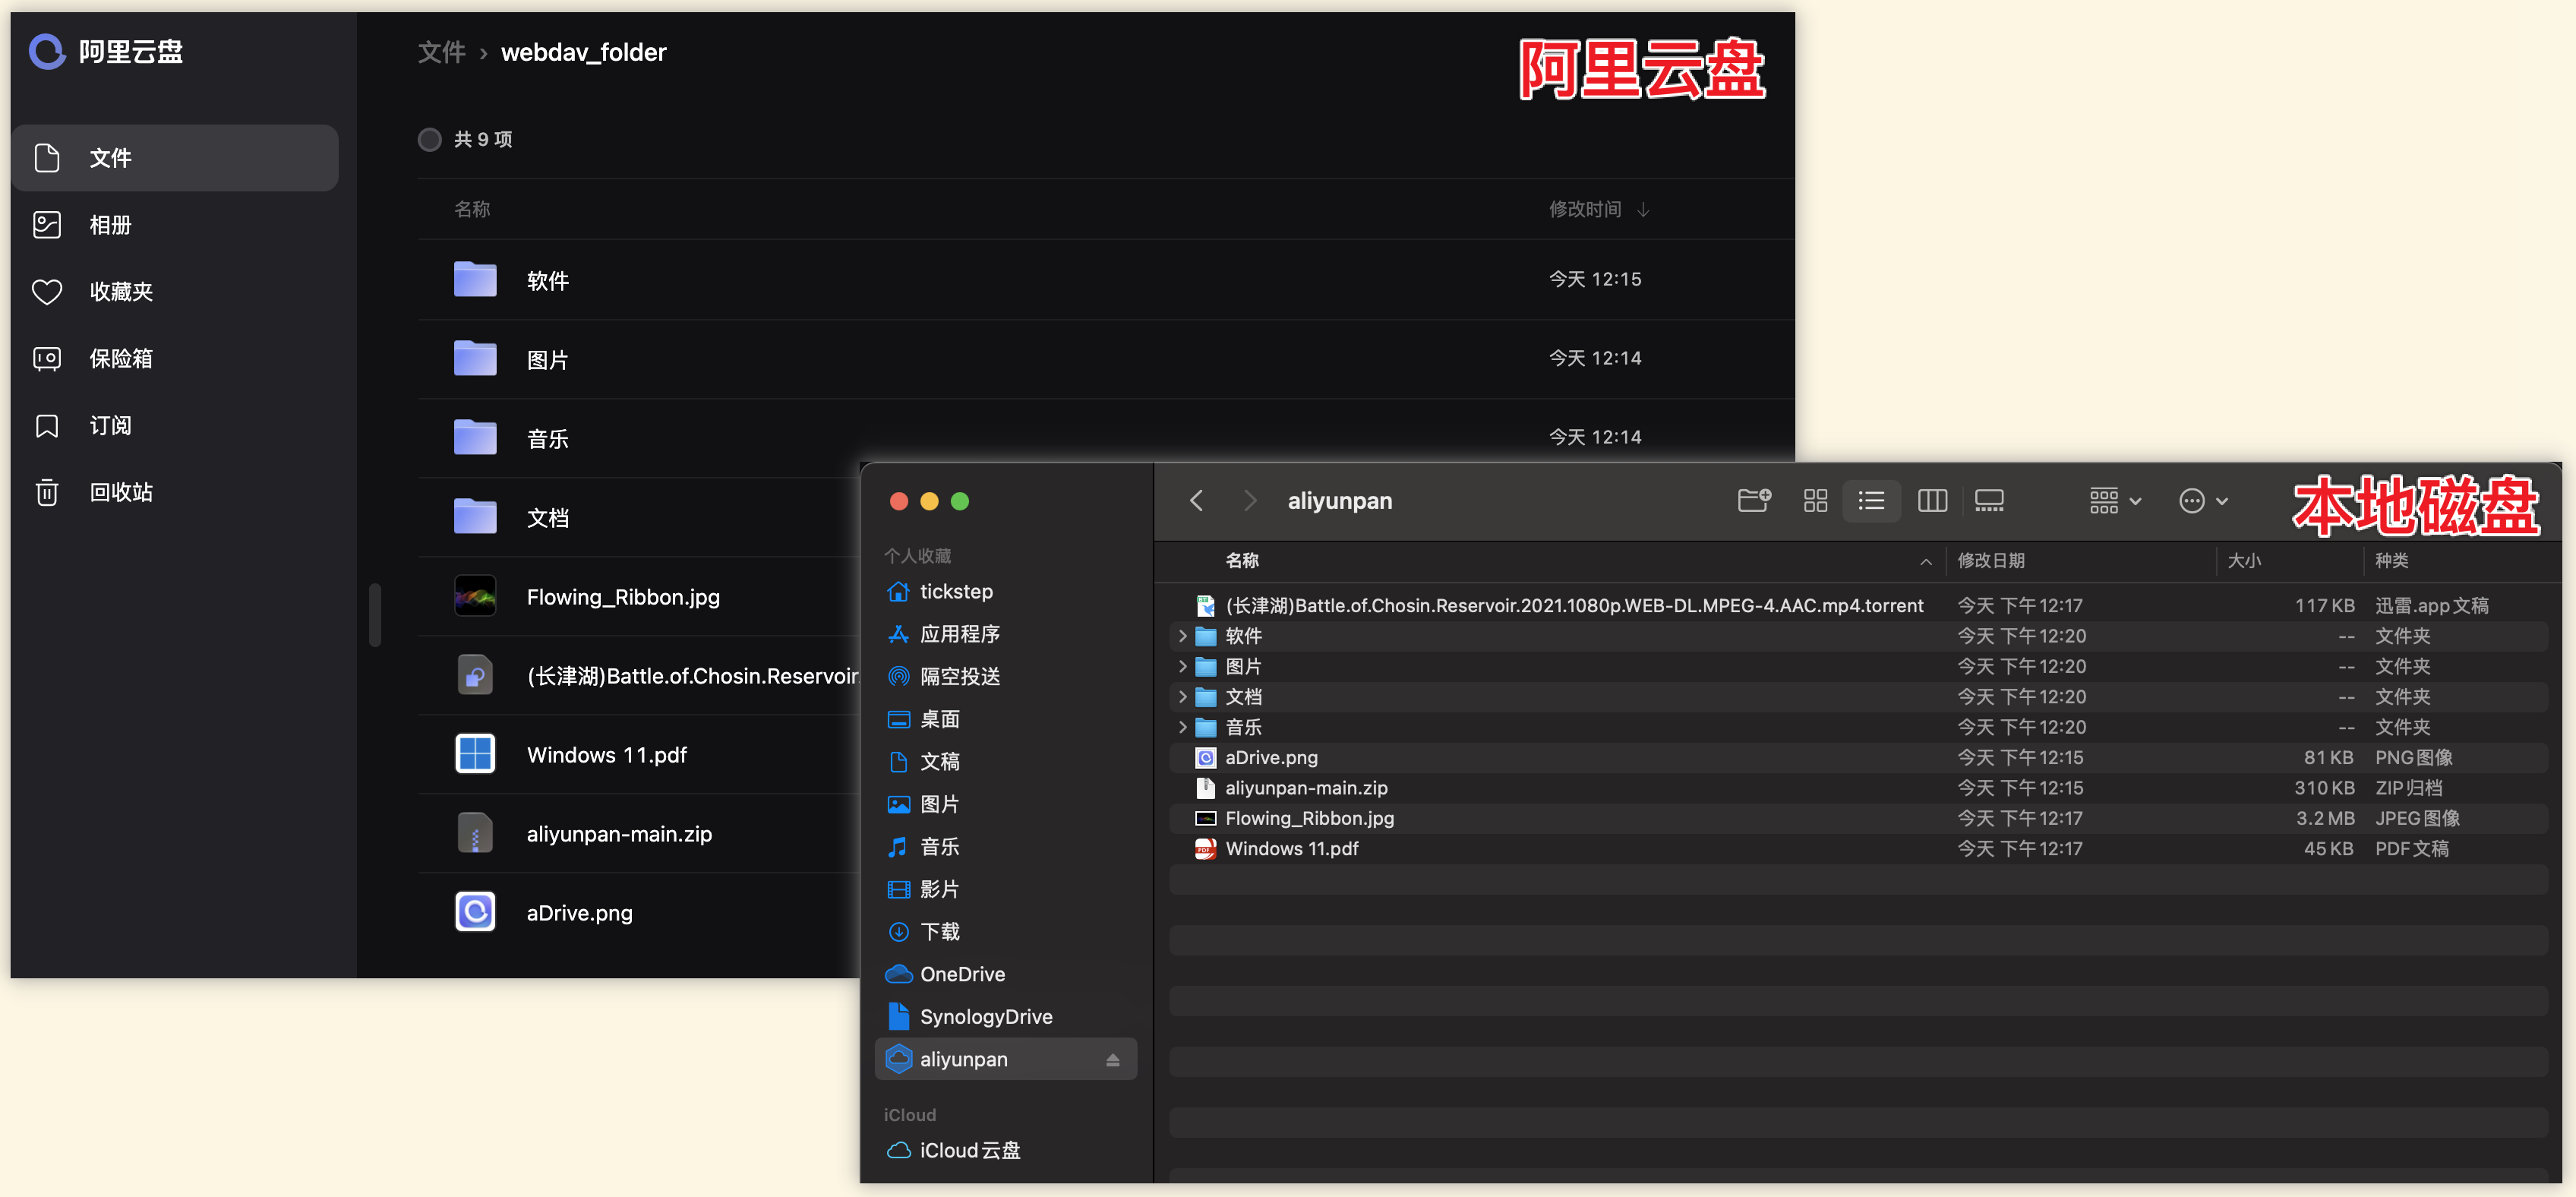
效果图如下所示:
常用命令说明
查看webdav说明
aliyunpan webdav

查看webdav如何启动说明
aliyunpan webdav start -h

使用默认配置启动webdav服务。
aliyunpan webdav start

启动webdav服务,并配置IP为127.0.0.1,端口为23077,登录用户名为admin,登录密码为admin123,文件网盘目录 /webdav_folder 作为服务的根目录
aliyunpan webdav start -ip "127.0.0.1" -port 23077 -webdav_user "admin" -webdav_password "admin123" -pan_drive "File" -pan_dir_path "/webdav_folder"

正常启动后会打印出webdav链接参数,然后使用支持webdav的客户端填入下面对应的参数进行链接即可
----------------------------------------
webdav网盘信息:
链接:http://localhost:23077
用户名:admin
密码:admin123
网盘服务类型:文件
网盘服务目录:/webdav_folder
----------------------------------------
命令行启动
需要先进行登录。然后使用以下命令运行即可,该命令是阻塞的不会退出,除非停止webdav服务。
./aliyunpan webdav start -port 23077 -webdav_user "admin" -webdav_password "admin123" -pan_dir_path "/webdav_folder"

参数说明
port:绑定端口
webdav_user: webdav客户端登录用户名
webdav_password: webdav客户端登录密码
pan_dir_path:指定webdav使用那个阿里云盘目录作为服务根目录
Linux后台启动
建议结合nohup进行启动。
先创建webdav.sh脚本,内容如下
# 请更改成你自己的目录
cd /path/to/aliyunpan/folder

chmod +x ./aliyunpan

# 指定refresh token用于登录
./aliyunpan login -RefreshToken=9078907....adg9087

# 上传下载链接类型:1-默认 2-阿里ECS环境
./aliyunpan config set -transfer_url_type 1

# 指定webdav启动参数并进行启动
./aliyunpan webdav start -ip "0.0.0.0" -port 23077 -webdav_user "admin" -webdav_password "admin" -pan_dir_path "/" -bs 1024
增加脚本执行权限
$ chmod +x webdav.sh
然后启动该脚本进行后台运行
$ nohup ./webdav.sh >/dev/null 2>&1 &
Docker运行
详情文档请参考dockerhub网址:tickstep/aliyunpan-webdav
- 直接运行
docker run -d --name=aliyunpan-webdav --restart=always -p 23077:23077 -e TZ="Asia/Shanghai" -e ALIYUNPAN_REFRESH_TOKEN="<your refreshToken>" -e ALIYUNPAN_AUTH_USER="admin" -e ALIYUNPAN_AUTH_PASSWORD="admin" -e ALIYUNPAN_PAN_DRIVE="File" -e ALIYUNPAN_PAN_DIR="/" tickstep/aliyunpan-webdav

# ALIYUNPAN_REFRESH_TOKEN RefreshToken
# ALIYUNPAN_AUTH_USER webdav登录用户名
# ALIYUNPAN_AUTH_PASSWORD webdav登录密码
# ALIYUNPAN_PAN_DRIVE 网盘类型,可选: File-文件 Album-相册
# ALIYUNPAN_PAN_DIR 网盘文件夹的webdav服务根目录
- docker-compose运行
docker-compose.yml 文件如下所示,为了方便说明增加了相关的注释,部署的时候可以去掉注释。
version: '3'
services:
  webdav:
    image: tickstep/aliyunpan-webdav
    container_name: aliyunpan-webdav
    restart: always
    ports:
      - 23077:23077
    environment:
      - TZ=Asia/Shanghai
      # refresh token用于登录
      - ALIYUNPAN_REFRESH_TOKEN=b9123...13e66a1
      # webdav 登录用户名
      - ALIYUNPAN_AUTH_USER=admin
      # webdav 登录密码
      - ALIYUNPAN_AUTH_PASSWORD=admin
      # 指定网盘类型为文件,可选: File-文件 Album-相册
      - ALIYUNPAN_PAN_DRIVE=File
      # 指定网盘文件夹作为webdav服务根目录
      - ALIYUNPAN_PAN_DIR=/
      # 上传下载链接类型:1-默认 2-阿里ECS环境
      - ALIYUNPAN_TRANSFER_URL_TYPE=1
      # 上传数据块大小,单位为KB,默认为10240KB,建议范围1024KB~10240KB
      - ALIYUNPAN_BLOCK_SIZE=10240
HTTPS配置
建议使用nginx进行https的配置。样例如下:
server {
       listen 443;
       server_name your.host.com;
       ssl on;
       root html;
       index index.html index.htm;
       ssl_certificate /path/to/your/file.pem;
       ssl_certificate_key /path/to/your/file.key;

       ssl_session_timeout 5m;
       ssl_ciphers ECDHE-RSA-AES128-GCM-SHA256:ECDHE:ECDH:AES:HIGH:!NULL:!aNULL:!MD5:!ADH:!RC4;
       ssl_protocols TLSv1 TLSv1.1 TLSv1.2;
       ssl_prefer_server_ciphers on;

       # webdav server
       location /{
          root html;
          proxy_pass http://127.0.0.1:23077;
          proxy_set_header X-Real-IP $remote_addr;
          proxy_set_header REMOTE-HOST $remote_addr;
          proxy_set_header X-Forwarded-For $proxy_add_x_forwarded_for;
          proxy_set_header Host $http_host;
          proxy_redirect off;
        }
   }
显示和修改程序配置项
# 显示配置
aliyunpan config

# 设置配置
aliyunpan config set
例子
# 显示所有可以设置的值
aliyunpan config -h
aliyunpan config set -h

# 设置下载文件的储存目录
aliyunpan config set -savedir D:/Downloads

# 设置下载最大并发量为 15
aliyunpan config set -max_download_parallel 15

# 组合设置
aliyunpan config set -max_download_parallel 15 -savedir D:/Downloads

# 设置使用阿里云内部URL链接,专供阿里云ECS环境使用
# 开启内部URL链接可以使用阿里云ECS私网带宽流量,而不用使用宝贵的公网带宽流量,如果你在阿里ECS环境中使用本工具,建议开启
aliyunpan config set -transfer_url_type 2
安装Rclone进行挂载
安装rclone
curl https://rclone.org/install.sh | sudo bash配置rclone
rclone config配置过程代码
[root@localhost yum.repos.d]# rclone config
2021/08/12 16:28:35 NOTICE: Config file "/root/.config/rclone/rclone.conf" not found - using defaults
No remotes found - make a new one
n) New remote
s) Set configuration password
q) Quit config
n/s/q> n
name> aliyunwebdav(Rclone配置名)
Type of storage to configure.
Enter a string value. Press Enter for the default ("").
Choose a number from below, or type in your own value
 1 / 1Fichier
   \ "fichier"
 2 / Alias for an existing remote
   \ "alias"
 3 / Amazon Drive
   \ "amazon cloud drive"
 4 / Amazon S3 Compliant Storage Providers including AWS, Alibaba, Ceph, Digital Ocean, Dreamhost, IBM COS, Minio, SeaweedFS, and Tencent COS
   \ "s3"
 5 / Backblaze B2
   \ "b2"
 6 / Box
   \ "box"
 7 / Cache a remote
   \ "cache"
 8 / Citrix Sharefile
   \ "sharefile"
 9 / Compress a remote
   \ "compress"
10 / Dropbox
   \ "dropbox"
11 / Encrypt/Decrypt a remote
   \ "crypt"
12 / Enterprise File Fabric
   \ "filefabric"
13 / FTP Connection
   \ "ftp"
14 / Google Cloud Storage (this is not Google Drive)
   \ "google cloud storage"
15 / Google Drive
   \ "drive"
16 / Google Photos
   \ "google photos"
17 / Hadoop distributed file system
   \ "hdfs"
18 / Hubic
   \ "hubic"
19 / In memory object storage system.
   \ "memory"
20 / Jottacloud
   \ "jottacloud"
21 / Koofr
   \ "koofr"
22 / Local Disk
   \ "local"
23 / Mail.ru Cloud
   \ "mailru"
24 / Mega
   \ "mega"
25 / Microsoft Azure Blob Storage
   \ "azureblob"
26 / Microsoft OneDrive
   \ "onedrive"
27 / OpenDrive
   \ "opendrive"
28 / OpenStack Swift (Rackspace Cloud Files, Memset Memstore, OVH)
   \ "swift"
29 / Pcloud
   \ "pcloud"
30 / Put.io
   \ "putio"
31 / QingCloud Object Storage
   \ "qingstor"
32 / SSH/SFTP Connection
   \ "sftp"
33 / Sugarsync
   \ "sugarsync"
34 / Tardigrade Decentralized Cloud Storage
   \ "tardigrade"
35 / Transparently chunk/split large files
   \ "chunker"
36 / Union merges the contents of several upstream fs
   \ "union"
37 / Uptobox
   \ "uptobox"
38 / Webdav
   \ "webdav"
39 / Yandex Disk
   \ "yandex"
40 / Zoho
   \ "zoho"
41 / http Connection
   \ "http"
42 / premiumize.me
   \ "premiumizeme"
43 / seafile
   \ "seafile"
Storage> 38#注意选项中的序号是否为Webdav
URL of http host to connect to
Enter a string value. Press Enter for the default ("").
Choose a number from below, or type in your own value
 1 / Connect to example.com
   \ "https://example.com"
url> http://127.0.0.1:10086#http://Webdav地址:端口
Name of the Webdav site/service/software you are using
Enter a string value. Press Enter for the default ("").
Choose a number from below, or type in your own value
 1 / Nextcloud
   \ "nextcloud"
 2 / Owncloud
   \ "owncloud"
 3 / Sharepoint Online, authenticated by Microsoft account.
   \ "sharepoint"
 4 / Sharepoint with NTLM authentication. Usually self-hosted or on-premises.
   \ "sharepoint-ntlm"
 5 / Other site/service or software
   \ "other"
vendor> 5
User name. In case NTLM authentication is used, the username should be in the format 'Domain\User'.
Enter a string value. Press Enter for the default ("").
user> admin#Webdav用户名
Password.
y) Yes type in my own password
g) Generate random password
n) No leave this optional password blank (default)
y/g/n> y
Enter the password:
password:#Webdav密码
Confirm the password:
password:#再次输入Webdav密码
Bearer token instead of user/pass (e.g. a Macaroon)
Enter a string value. Press Enter for the default ("").
bearer_token>
Edit advanced config?
y) Yes
n) No (default)
y/n>
--------------------
[aliyunwebdav]
type = webdav
url = http://127.0.0.1:10086
vendor = other
user = admin
pass = *** ENCRYPTED ***
--------------------
y) Yes this is OK (default)
e) Edit this remote
d) Delete this remote
y/e/d>
Current remotes:

Name                 Type
====                 ====
aliyunwebdav         webdav

e) Edit existing remote
n) New remote
d) Delete remote
r) Rename remote
c) Copy remote
s) Set configuration password
q) Quit config
e/n/d/r/c/s/q>  q name请自行替换 密码需要输入两遍进行确认,建议上面运行webdav程序的时候不设置密码,这里就不需要进行设置,直接选择无密码选项
#新建本地文件夹,位置可以自己选 mkdir /data/aliyunwebdav #挂载 rclone mount DriveName:Folder LocalFolder --cache-dir /tmp --allow-other --vfs-cache-mode writes --allow-non-emptyDriverName是你在配置rclone的时候设置的名字,Folder没有需要求的话填/即可,LocalFolder是你本地挂载的地址,/tmp比较特殊,上传时缓存目录,其他类型挂载一般时不需要这个参数的,默认/tmp地址即可,除非你的系统特殊 创建后台运行
touch rclone.sh
vim rclone.sh
将命令写入rclone.sh
rclone mount DriveName:Folder LocalFolder --cache-dir /tmp --allow-other --vfs-cache-mode writes --allow-non-empty添加执行权限
chmod +x rclone.sh后台执行
nohup ./rclone.sh >/dev/null 2>&1 &